Prepare Virtual Hard Disk file
Prepare and upload a VM from Hyper-V virtualization platform to Azure public cloud.
To prepare the disk image file, you need to convert the .vhdx file to .vhd (virtual hard disk) file with a fixed size. For this purpose, Hyper-V Management tools need to be installed. You can install them using dism:
DISM /Online /Enable-Feature /All /FeatureName:Microsoft-Hyper-V
Converting the disk is done with the following command:
Convert-VHD -Path C:\VirtualMachines\Disks\image.vhdx -DestinationPath C:\VirtualMachines\Disks\image.vhd -VHDType Fixed
To minimize the costs, resize the disk if needed.
Resize-VHD -Path C:\VirtualMachines\Disks\image.vhd -SizeBytes '137438953472'
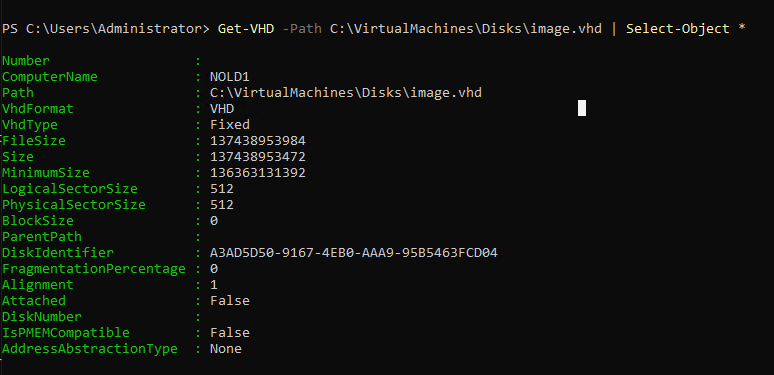
Keep in mind that FileSize needs to be 512 bytes larger than the Size parameter, to accommodate the Virtual Hard Disk footer.
Get-VHD -Path C:\VirtualMachines\Disks\image.vhd | Select-Object *
Attach the new Virtual Hard Drive file to a VM, and verify that you are able to connect to it by RDP.
Install the Azure VM Agent
Download the Azure VM agent from Github https://github.com/Azure/WindowsVMAgent/releases.
Install it from CLI executing command:
msiexec.exe /i C:\Downloads\WindowsAzureVmAgent.amd64_2.7.41491.1095_2307171095.fre.msi /L*v C:\Downloads\msiexec.log
Create managed disk in Azure
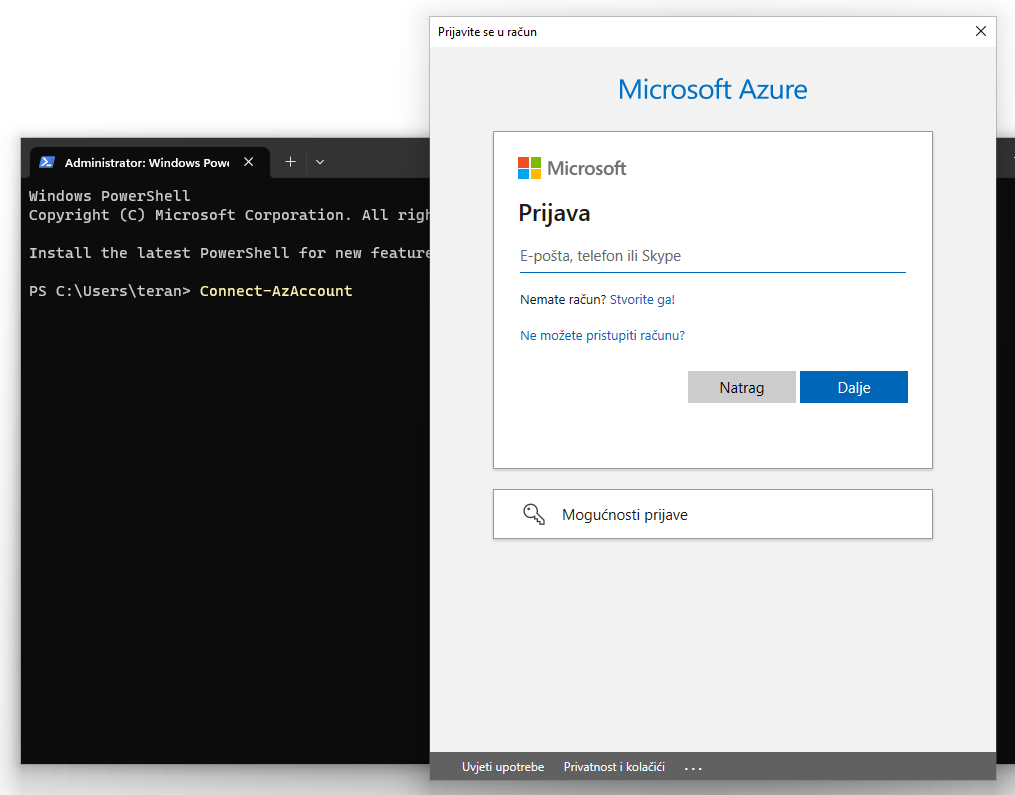
Connect to your Azure account from the local Powershell console with Connect-AzAccount cmdlet.
If you have multiple subscriptions, you need to set the right one. To view the one you are positioned in, you can use Get-AzSubscription cmdlet, with no parameters. To change to another subscription you can use:
Set-AzContext -SubscriptionID "ef2a462a-4192-42c8-87cc-a0a5d6c02aed"
Set the variables which you’ll use throughout the process.
$DiskName = 'MojDisk'
$ResourceGroupName = 'MojaRG'
$Location = 'westeurope'
Create a new resource group to which we will upload the Virtual Hard Drive file.
New-AzResourceGroup -Name $ResourceGroupName -Location $Location
Set the Azure managed disk configuration parameters. Use the FileSize amount from your Virtual Hard Drive file to create your new disk in Azure.
$UploadSizeInBytes = "137438953984"
$diskconfig = New-AzDiskConfig -AccountType Standard_LRS -Location $location -UploadSizeInBytes $UploadSizeInBytes -OsType Windows -HyperVGeneration "V2" -CreateOption Upload
Create the empty disk.
New-AzDisk -ResourceGroupName $ResourceGroupName -DiskName $DiskName -Disk $diskconfig
Upon creation, the disk will show `ReadyToUpload` status, which means the disk is ready, but you still need to generate the SAS key.
![]()
Shared Access Signature key is a token used for access to a particular Azure storage resource. SAS keys can define specific permissions to the storage resources, can have expiration time set, can limit allowed IP addresses/ranges etc.
So, let’s generate the SAS token, with the duration of 24 h :
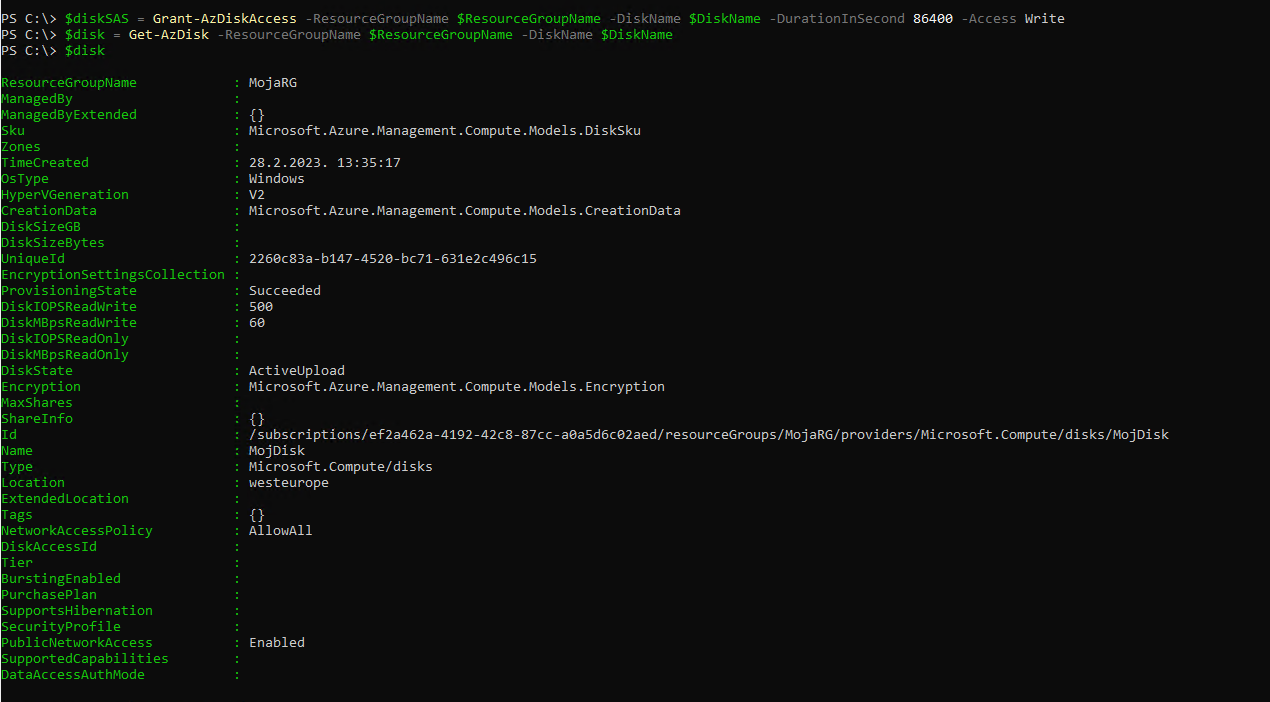
$diskSAS = Grant-AzDiskAccess -ResourceGroupName $ResourceGroupName -DiskName $DiskName -DurationInSecond 86400 -Access Write
When you generate a SAS key, disk state changes to `ActiveUpload`.
Upload with AzCopy
Finally, let’s upload the Virtual Hard Drive. For this purpose, we will use the AzCopy tool – you can download it here https://aka.ms/downloadazcopy-v10-windows.
The command we run is:
azcopy.exe copy C:\VirtualMachines\Disks\image.vhd $diskSAS.AccessSAS --blob-type PageBlob
The storage type is set as Page Blob, which is used for operating system disks or disks with frequent read/write operations in general.

Upon finished upload, the disk is shown as Unattached, since it is not associated with any virtual machine. Also, attaching the disk is not possible until access to the disk with SAS key is revoked:
Revoke-AzDiskAccess -ResourceGroupName $ResourceGroupName -DiskName $DiskName
Create VM from disk
We start by defining a subnet.
$subnetName = 'MojSubnet'
$subnet = New-AzVirtualNetworkSubnetConfig -Name $subnetName -AddressPrefix 10.0.0.0/24
The subnet is then used as a parameter for creating a virtual network.
$vnetName = "MojVnet"
$vnet = New-AzVirtualNetwork -Name $vnetName -ResourceGroupName $ResourceGroupName -Location $location -AddressPrefix 10.0.0.0/16 -Subnet $subnet
Also, we need to create a Network Security Group, which we will assign to the NIC later on. NSG is a set of rules defined to filter network traffic to the Azure resources. It is a basic layer 3 and layer 4 firewall.
When creating NSG, we define a RDP allow rule for the IP address 1.2.3.4.
$nsgName = "MojNSG"
$MojIP = "1.2.3.4"
$rdpRule = New-AzNetworkSecurityRuleConfig -Name MojRDPRule -Description "Allow RDP" -Access Allow -Protocol Tcp -Direction Inbound -Priority 110 -SourceAddressPrefix $MojIP -SourcePortRange * -DestinationAddressPrefix * -DestinationPortRange 3389
$nsg = New-AzNetworkSecurityGroup -ResourceGroupName $ResourceGroupName -Location $location -Name $nsgName -SecurityRules $rdpRule
In order to make the VM available publicly, we create an IP address and NIC.
$ipName = "MojIP"

$pip = New-AzPublicIpAddress -Name $ipName -ResourceGroupName $ResourceGroupName -Location $location -AllocationMethod Static

$nicName = "MojNIC"

$nic = New-AzNetworkInterface -Name $nicName -ResourceGroupName $ResourceGroupName -Location $location -SubnetId $vnet.Subnets[0].Id -PublicIpAddressId $pip.Id -NetworkSecurityGroupId $nsg.Id
We configure the virtual machine’s name and size.
$vmName = "MojVM"
$vmConfig = New-AzVMConfig -VMName $vmName -VMSize "Standard_B2s"
Add the NIC to the virtual machine.
$vm = Add-AzVMNetworkInterface -VM $vmConfig -Id $nic.Id
Configure the disk.
$vm = Set-AzVMOSDisk -VM $vm -ManagedDiskId $disk.Id -StorageAccountType Standard_LRS -DiskSizeInGB 128 -CreateOption Attach -Windows
And finally, create the virtual machine itself.
New-AzVM -ResourceGroupName $ResourceGroupName -Location $location -VM $vm
Deployment of a virtual machine can take a few minutes to finish.
You can check the VM resource with command:
Get-AzVM -ResourceGroupName $ResourceGroupName

If you are not on a trusted machine, don’t forget to disconnect from Azure:
Disconnect-AzAccount


